If you’re reading this right now, chances are you’re relatively new to editing videos and would like to brush up on your film editing techniques. We all have to start somewhere, which usually involves a rough piece of footage, a basic movie editing software suite and a somewhat ‘make it up as you go along’ approach to the whole thing. Precisely where are a few simple yet effective editing tips from the pros could help.
Learning how to make video edits to be proud of can be satisfying beyond belief. The initial learning curve may seem relatively steep, but the most basic editing techniques that can add up to a real difference are surprisingly simple to grasp. The same also applies to a long list of seriously cool video editor effects like chroma key video editing, which once you’ve gotten to grips with become second nature.
In this brief introductory guide, I’ll be covering the basics of how to edit videos confidently and in a constructive way, with a series of helpful editing tips to help you step up your game in no time.
Tips for Video Editing – Learn the Basics First
First and foremost, the single most important video editing tip you’ll ever receive is also the simplest:
- Never make things up as you go long
If you attempt to edit a video without a plan or at least some kind of goal in mind, you can forget about it. It’s not to say that you need a head full of cool video ideas and Oscar-worthy effects you’d like to enhance them with, but a basic plan of what you intend to achieve is essential.
Along with setting out with a clearly identified goal in mind, you also need to get to know your equipment inside out. Learning how to edit video using a simple video editor is all well and good, but what about getting the most out of your camera, your microphone and so on? Familiarizing yourself with your hardware is an absolute must, which for the most part is all about practice.
Other than this, one of the most important video editing tips for newcomers is to keep things as simple as possible for the time being. Focus your efforts on learning how to make edits of a relatively rudimentary nature first of all, before moving on to more advanced techniques like crosscutting film, shooting scenes from multiple angles and so on.
Just to nail that important point again – never make things up as you go along, or you’re pretty much guaranteed a disappointing result.
Choose the Right Video Editing Software
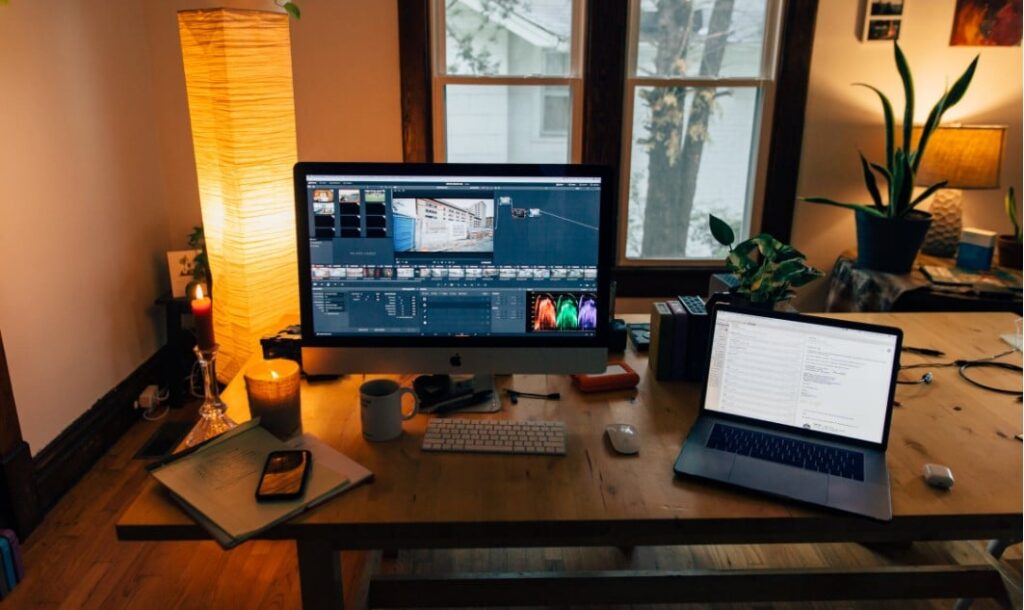
In terms of the practical process itself, the first step towards editing a piece of raw footage like a pro is choosing the right software. Assuming you’ve already shot something you’re relatively happy with, it’s now a case of transferring it to a suitable machine and getting busy with an appropriate software package.
Different video editing software packages allow for different types of editing. Likewise, some make it relatively easy to learn video editing with intuitive and highly user-friendly interfaces, while others are far trickier to get to grips with. Unsurprisingly, you’ll also find prices that vary wildly from one software suite to the next – anything from free (if for a limited time only) up to thousands of bucks for a permanent subscription.
Just a few of the most popular editing suites that are well worth checking outinclude After Effects, Premiere Pro, Avid Media Composer, Final Cut Pro and DaVinci Resolve.
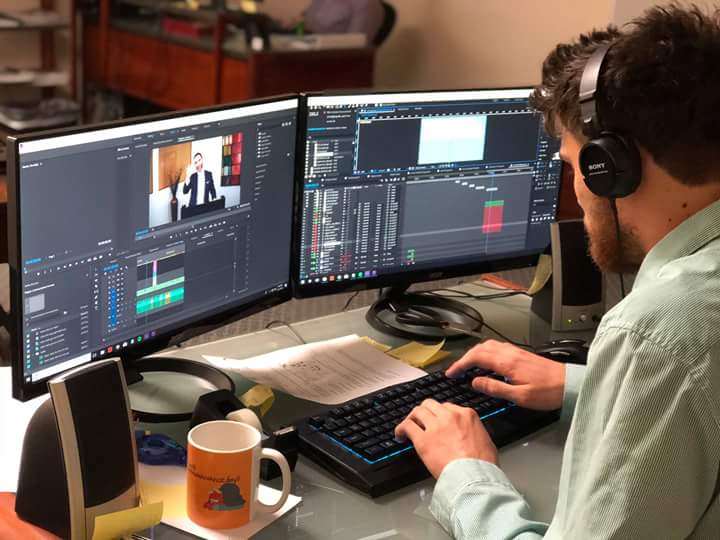
Use a Fast Computer with Enough RAM
Just as important as the software suite you use is the capacity of your computer to handle the job. Learning how to cut video in After Effects is one thing, but isn’t going to get you far if your computer slows to a crawl each time it faces a complex task.
Exactly what constitutes a ‘fast’ computer or ‘enough RAM’ varies significantly from one software package to the next. Nevertheless, faster is better and more is preferable.
“How much RAM do I need for 4K video editing?” If you’re planning on getting into video editing in a remotely serious capacity, it’s definitely worth upgrading to an SSD hard-disk to speed up reading and writing times. 8GM of RAM is advisable as the bare minimum, though stepping up to 16GB or 32GB is again preferable where possible. You’ll also need to check whether your CPU and video card are suitable for your chosen software suite, which means checking the basic system requirements published by the developer.
One important note – attempting to scrape by with a system that just meets the minimum system requirements isn’t a good idea. The software might run, but will probably run so painfully slowly and inconsistently that it is not worth bothering with.
Edit for a Compelling and Captivating Story
Referring back to the original point of ensuring you have a clearly defined objective in mind, the most compelling and engaging videos are those that tell a story. The art of effective storytelling lies at the heart of every good video – a clip that fails to tell a story is little more than a random compilation of moving images.
Defining the story and message for your video is something to do long before you begin the actual editing process. Sketching a basic storyboard is one option, or you could simply make a series of notes detailing your intended message for each scene and go from there.
Setting out with a defined vision and goal is essential, but this doesn’t mean you cannot deviate from your original plan along the way. If something about your story or the way you tell it could be improved, feel free to make on-the-spot changes at any time.
Maintain an Efficient Editing Workflow
It’s amazing how quickly what seems to be a simple video editing project descends into absolute chaos. Hence, from the moment you start editing your video, you need to focus on order, efficiency and easy access. This means giving your files clear names for quick and easy identification, saving your files into clearly defined folders and ensuring everything has its place.
It also means being systematic in your approach – i.e. having a plan in place regarding your order of work, which aspects of the project to focus on first and ensuring each task is completed before moving on to the next. Just as important, the criticality of backing up your most important files (and your project in general) really cannot be overstated, just in case the worst should happen.
Avoid Pitfalls Like Shaky Footage
If you’re dissatisfied with the footage you’ve shot having come out shakier than expected, all hope is by no means lost. The vast majority of quality video editing suites feature surprisingly effective stabilization tools, alongside various plugins and specialist apps designed specifically to reduce camera shake.
Of course, the best way to deal with the camera shake is to avoid shaky footage in the first place. A few helpful tips for keeping your video footage smooth and stable being as follows:
- Always shoot with two hands where possible
- Consider a specialist stabilization mount
- Hold your camera close to your body when recording
- Pan, tilt and move the camera regularly to avoid shake
- Shoot wide where possible
- Try not to play with the settings on your camera while recording
- Pick up a lens with an image stabilizer
- Use a tripod or mount whenever possible
Smooth footage always looks more professional than shaky footage, so it’s worth focusing heavily on stabilization.
Color Correct Your Clips
Manipulation of color can be a great way of boosting the impact and appeal of your footage, or certain segments thereof. Again, the vast majority of decent software suites available right now make it easy to adjust colors and experiment with color manipulation to see what works.
You’ll most likely come across two separate options for color manipulation, as follows:
- Color correction – This is essential to ensure that the colors displayed in your footage are consistent from one scene to the next throughout the piece.
- Color grading – Useful if you want to give your footage a different look entirely by manipulating the colors in a variety of ways.
Preset color manipulation effects will also be available in plentiful supply, including such standards as monochrome, sepia, VHS and so on.
Select Good Music
Technically speaking, selecting good music for a video project isn’t particularly difficult. Dramatic instrumentals and sound effects are called for when shooting horrors, thrillers and high-drama pieces, while more cheerful melodies and upbeat backing tracks are better with light-hearted clips.
The difficulty in selecting and using good music for a video project lies in finding something you can use for free. There’s a ton of royalty-free music to be found online – a quick Google Search will sort you out – but using well-known music (or anything copyrighted) is completely out of the question, unless you pay for it.
Don’t make the mistake of stepping on the toes of an established artist or recording company – they’ve a nasty habit of being ruthless where lawsuits and compensation claims are concerned.
Add Text and Graphics
Unless you’re shooting some kind of fantastical feature film or an eye-popping animated movie, it’s usually better to keep supplementary text and graphics simple. The simpler these added extras, the less attention they take away from the movie itself. This means using a clear font that’s easy to read in an appropriate size for titles, captions and credits, using the most basic effects (fade, dissolve etc.) for clean and seamless integration.
That said, if you do feel the need to take things to extremes with your captions and visuals, you’ll find no shortage of options built into software suites like Adobe After Effects. Feel free to play around with the options available, until you come up with something that works for your video.
Export Into The Right Video Format

Last up, you’ve edited your video, you’re happy with the final result and you’re ready to share it with the world. At which point, the last thing you want is to wreck the whole thing by exporting it in a low-grade format that removes its sparkle and luster.
Where possible, it’s worth exporting and saving a master copy of your work in the largest possible resolution and the highest possible quality – irrespective of file size. However, you may need to compress your work significantly if you plan on publishing it online, due to the file size restrictions of most websites and potential issues with format compact ability.
If you’re planning to share your work on social media, you’ll need to check the recommended export settings for the platform in question – those outlined by Facebook, Vimeo and YouTube being as follows:
|
Export Settings |
YouTube |
Vimeo |
|
|
Maximum Resolution |
2160p (4K) |
1080p (HD) |
720p |
|
RecommendedCodec |
H.264 |
H.264 |
H.264 |
|
Audio Codec |
AAC-LC (up to 96kHz) |
AAC-LC (up to 48kHz) |
N/A |
|
Bit Rate |
HD 8mbps at 24fps, |
20mbps |
N/A |
|
Supported Frame Rates |
24, 25, 30, 48, 50, 60 |
24, 25, 30 |
< 30fps |
Just as long as you hang on to the master copy of your work in the highest possible quality, you can experiment with different formats and resolutions for different platforms and outlets.